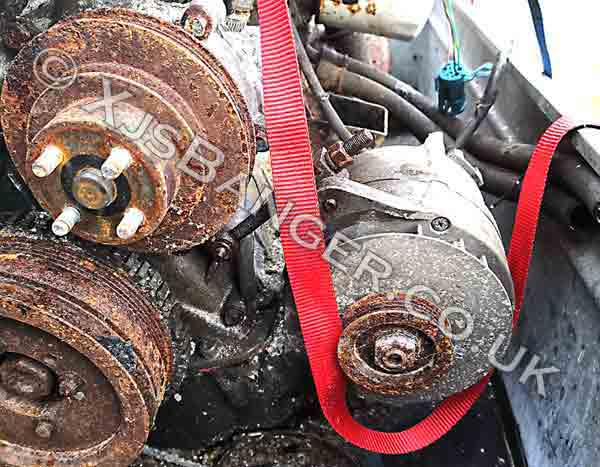
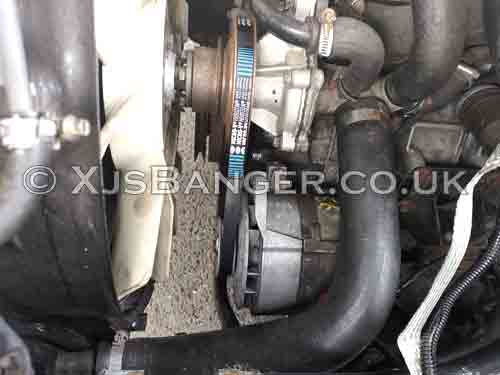
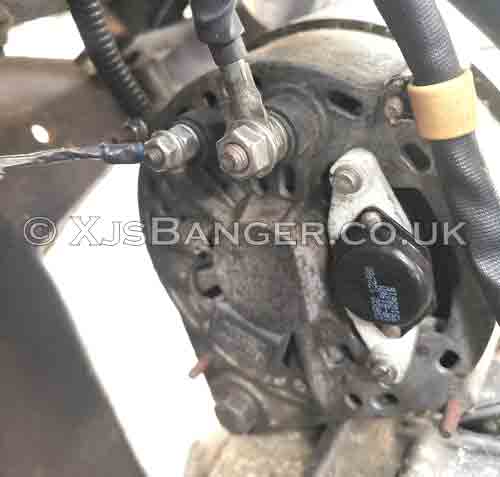
1.1 Jaguar XJS Alternator Withdrawal
First and as you probably expected – you will need to detach your alternator from the engine. This is childish as you need to loosen the belt tensioner undo few screws/bolts and remove the main alternator bolt… The main bolt which is a real bitch. The real bitch if you’ll have an honour to remove it as a first person since your banger left the 3-day-working-week-factory in UK. With limited access only thing left is to spray the entire area with Liquid Wrench and use ratchet to spin it dozens of time until it becomes loose enough to bang it our with a hammer (2.0lbs minimum). Here's the secret. Just watch the photos below:
Oh, by the way - if you are wanker enough to do it with battery attached – you will probably experience some fireworks on the way…
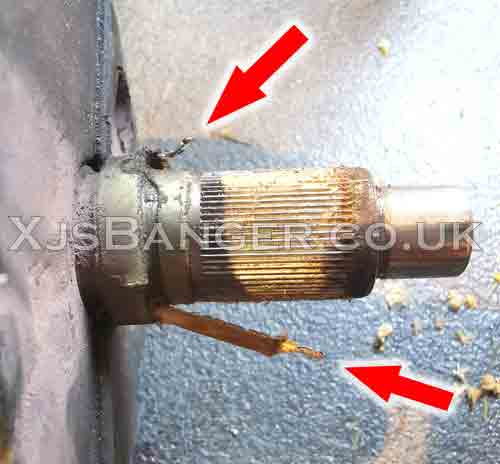
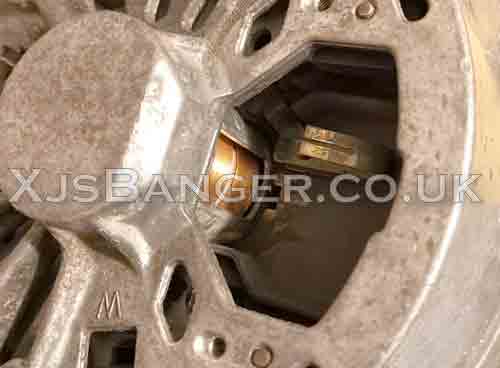
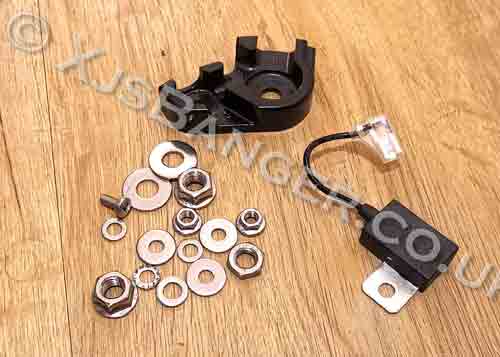
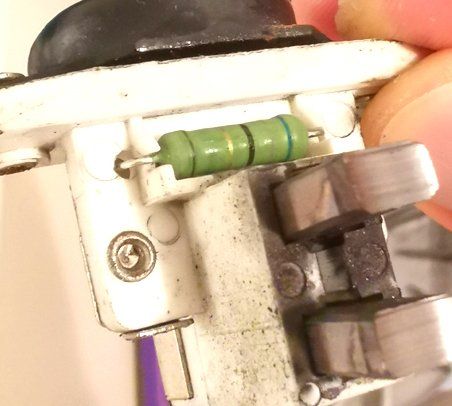
Oh, by the way 2 – undo two screws and remove capacitor and voltage regulator entirely. You don’t need those for now. If you’ll forget – I bet you are going to break it during rotor removal…
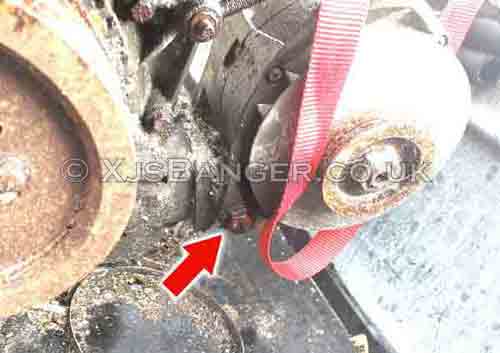
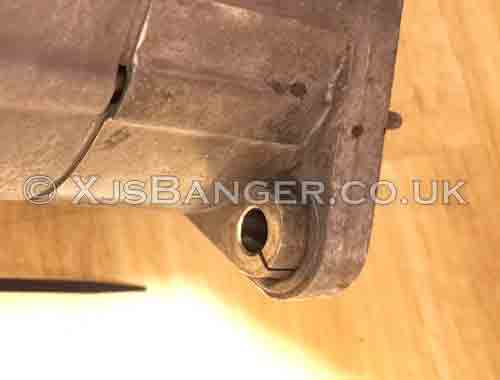
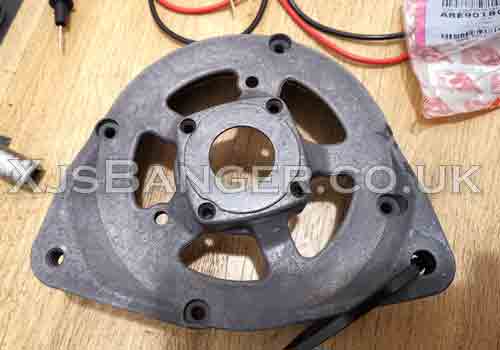
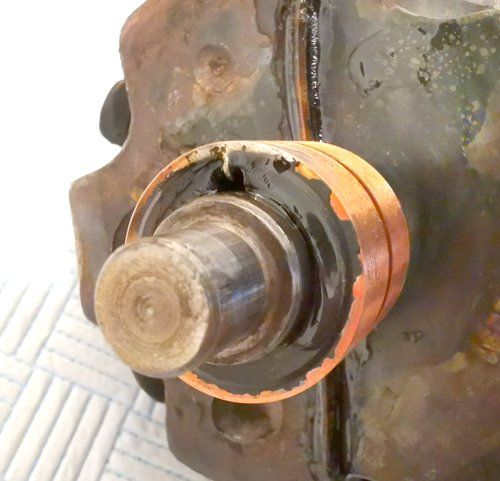
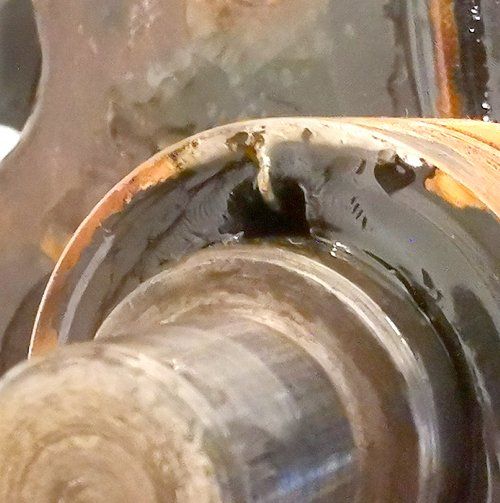
This is a magic part responsible for all the pain while trying to separate Bosch alternator from the bracket.
...I'll give you a hint. It's tapered. Just use chiseldriver from this side. Stick between the sleeve and bracket, punch few times.
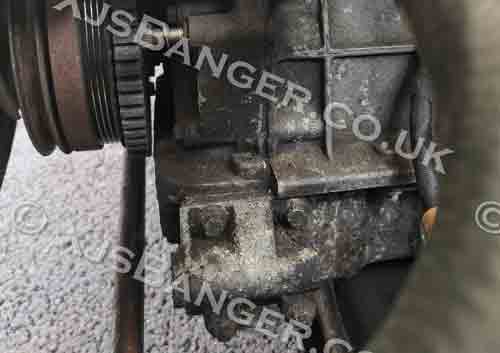
Jaguar AJ6 engine and bracket installed with 4 bolts. Just don't try to undo those without oil catch
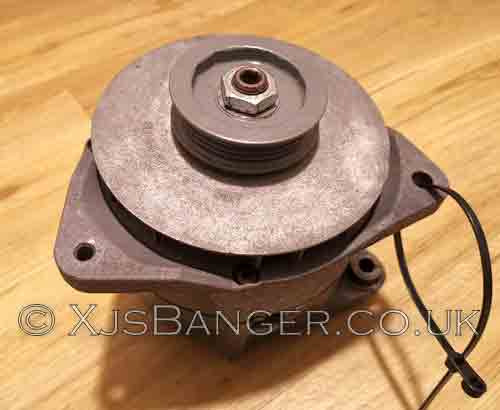
1.2 Jaguar XJS Alternator Disassembly
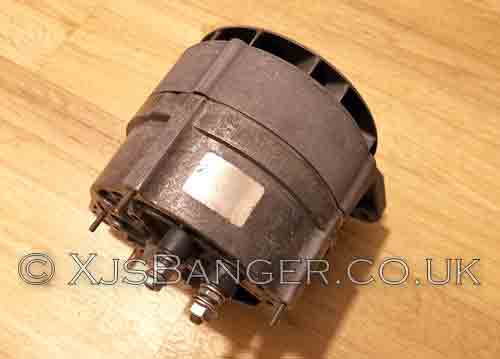
So here it is – your good old alternator. Genuine Bosch, not Chinese replica. Now the difficult bit – disassembly. You need to remove the pulley – by undoing M16x1.5 (also known as M16 fine thread) half-nut. Unless you’re really stupid like I was – you will use a blow torch, give it few whacks with a hammer and struggle with breaker bar until your muscles will become to shake. That includes your arms and legs.
In this place – again – I strongly recommend the best investment for the XJS owner –
Cordless Impact Wrench.
With aforementioned hardware – aforementioned nut is a joke. Now you can remove the pulley – it should go off easily unless your alternator was assembles on the weekend shift. Then you need to use your problem-solving skills or pulley puller like the one on the photo below (£15 with delivery)
These are the bolts that will make you cry. Unless you have impact wrench and imagination (well, the other bolts are not easy as well)
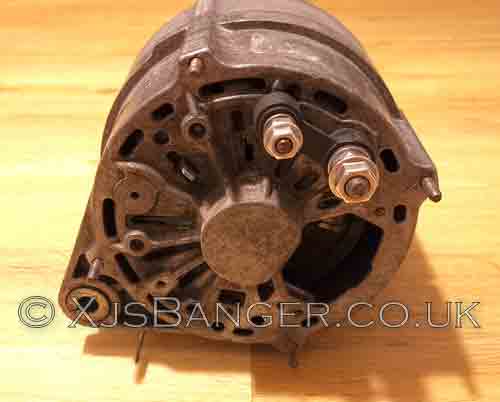
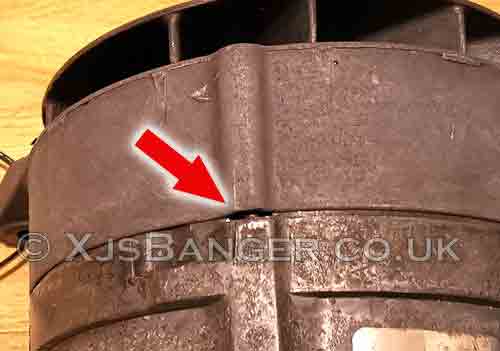
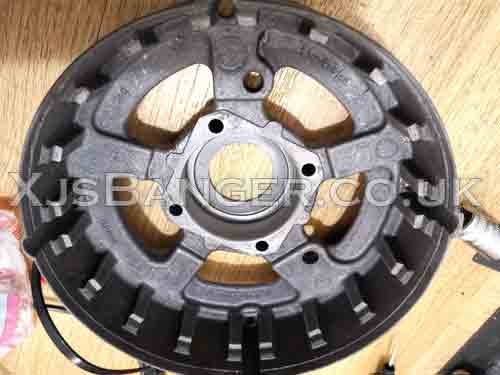
There are four slots allowing pry-opening of the top housing part.
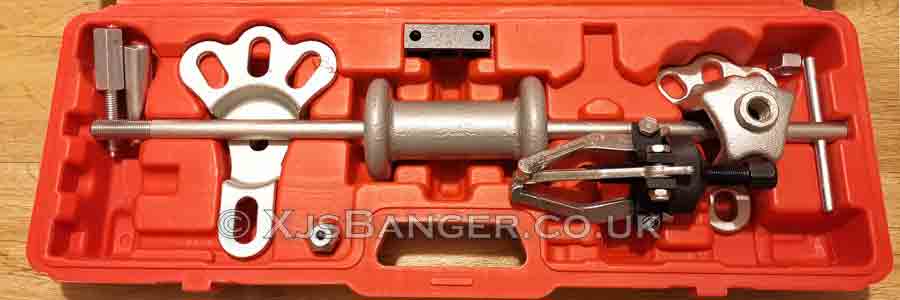
By the look of it - you should already know what this tool does...
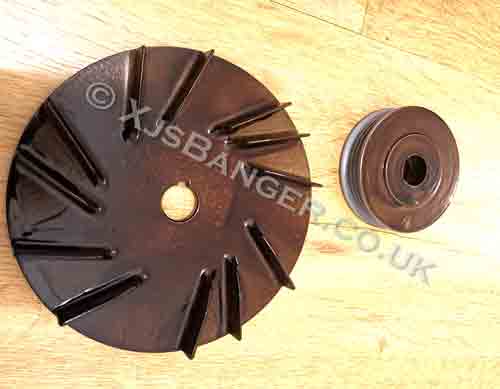
Right below the pulley is a fan disc which is some sort of over-engineered example of German thinking. There is a groove for the key, but the key is not present since factory. Anyway, the disc will drop-off without any struggling (psst! Just turn the alternator upside down).
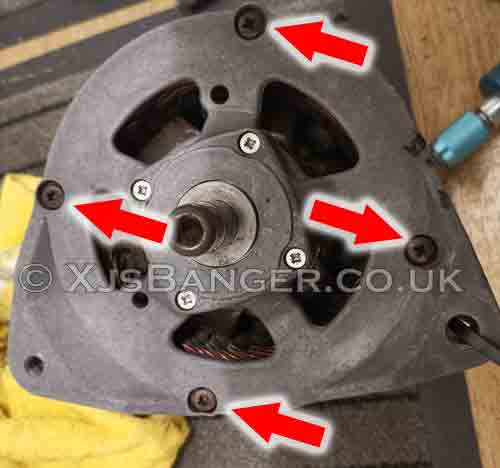
You will see four 30+ years old pan-head, recessed Philips M5 bolts and 4 screws in the area of the rotor. Pour those with aforementioned Liquid Wrench (or WD-40-shit if you’re on budget). Recessed Philips bolt are your worst enemy – just turn the alternator and you will see that those 4 are going through the entire length of the housing to finally protrude in the back approx. half inch. Grab a drill and wire brush and clean those protruding ends as deep as possible – if you won’t those will trash the threading inside of the housing with first attempt to udo, best way to avoid it is to run thread die over those ends twice` (I used Bosch GRO, superior to Dremel). Whack the alternator body in the bolt-protruding sections. Place the alternator on the back and pour Liquid Wrench (or WD40 if you wish to be less successful) into the gaps for between the both parts of the housing (where the shanks of the bolts are slightly visible. Wait a while or even overnight if your old and tired. Then, spray everything with LW again…
The final round – you have two options:
1. You can grab aforementioned Cordless Impact Wrench, hex bit holder and box of Dewalt jobber pozi bits (box, not one). Set the wrench to screw-down mode, press the bit firmly against the Philips (NOT Pozi – now you get it?) pan head recessed bolt and give it 1-2 seconds of whack action. Then put in reverse and undo the bolt. Repeat for remaining 3. Remaining small pozi screws around the rotor are no problem (single impact will do).
2. You can grab your best Philips/Pozi bits ½ inch ratchet or the best chiseldriver. Support it with dozens of “fucks” and “for God’s sakes”, and a blow torch of course (MAPP recommended), ending with cobalt drill scenario and future extraction problems / snapped locking pliers – just a few to name…
You’ve made it!!! Not…
Top part of the housing is pressed in and is being held by the OD of main bearing. Most of those will come out just with pry action (there are four slots designed for it – don’t break it, it’s aluminium) of the solid flat screwdriver (chisel driver). Unfortunately, there is a big chance of struggle. That’s why the God gave us… SLIDE HAMMER! (anywhere between £15 and £250). You can also grab top housing with standard puller, or hammer it out in old-school way - but it’s more time consuming.
With the set above (£32 with delivery) you will complete most of the DIY jobs effortlessly. Including your XJS stuff. It’s entirely made in China. There is more. They knew, they saw it coming, not sure how, but they’ knew I’m going to buy it. Somehow the slide hammer and all the attachments in the set above are having M16x1.5 thread machined. That’s right – same as your alternator’s rotor. That makes separation of the rotor from remaining part of the housing even more simplified. Just screw down hub puller into rotor from one side and then slide hammer from the other. Bang! Job done without any damage.
So, you’re ending up with:
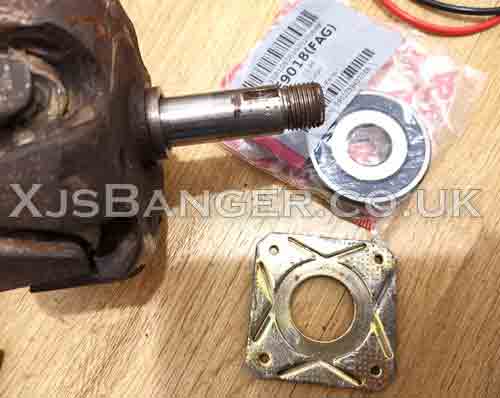
1. Alternator Pulley and main nut + wave washer
2. Top housing
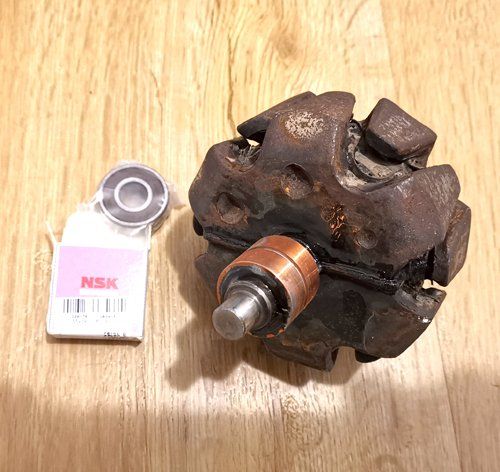
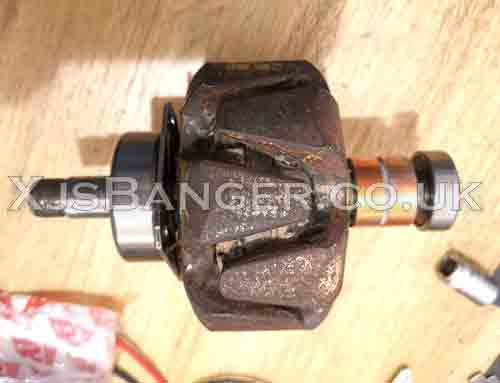
3. Rotor with bearings, pressed spacer and securing shim (shim to be discussed below)
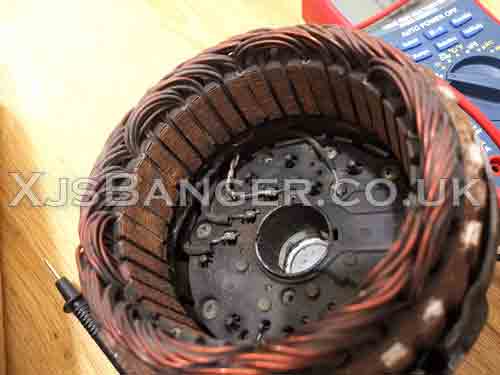
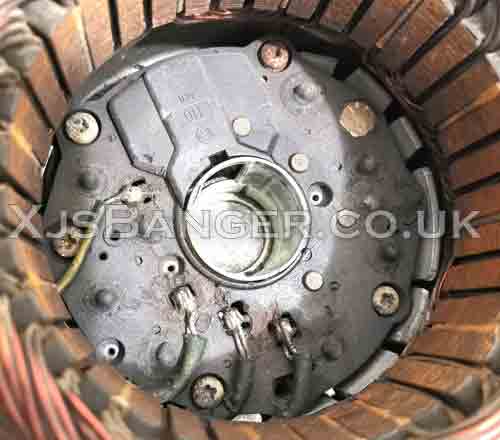
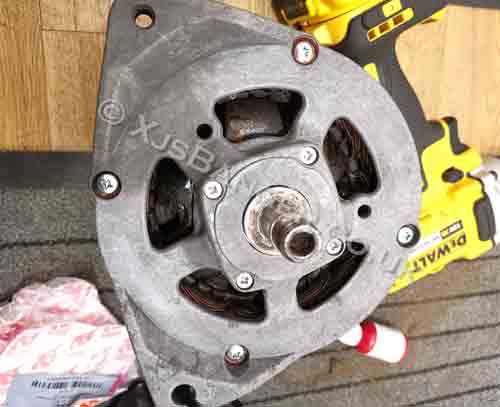
4. Bottom housing with stator, rectifier (also know as a bridge)
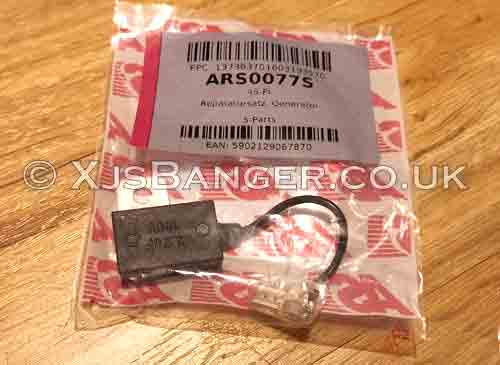
5. (removed capacitor and voltage regulator somewhere on the shelf)
1.3 Alternator Bearings – Removal
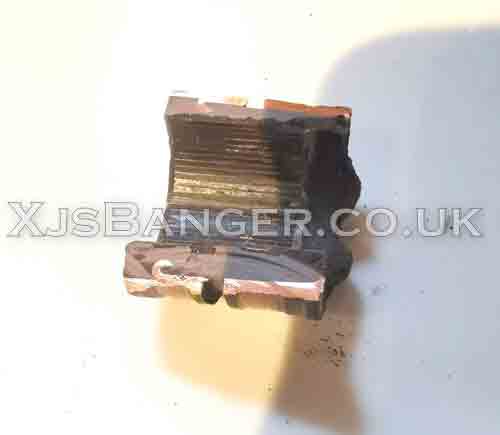
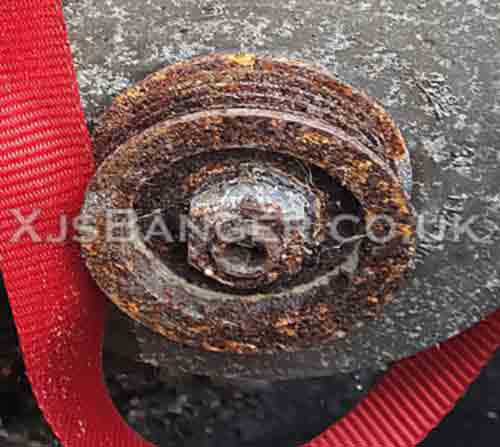
Now you can inspect your rotor and condition of the bearings. If you’re extremely unlucky - rear bearing is still stuck in the part of the housing holding stator and the rest (chances are 10 to 2300 - as it was taking 5 days to manufacture 2300 alternators and then weekend shift was taking over, manufacturing 10). Especially if it’s burned-off like the one on the photo below:
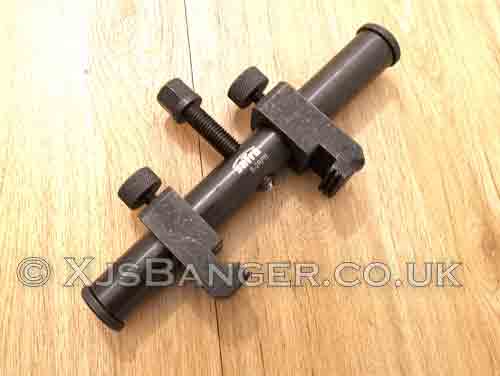
Best bearing puller for the price. Will allow you to remove bearings with ultra-tiny clearances.
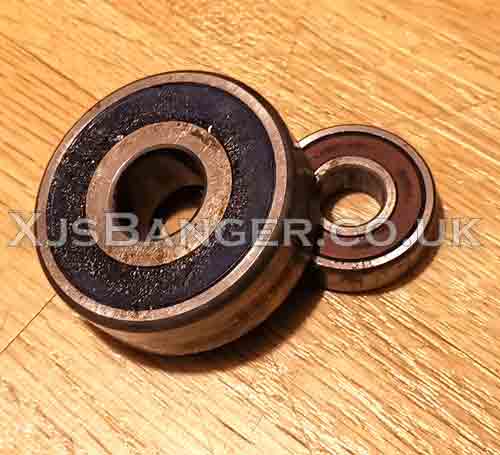
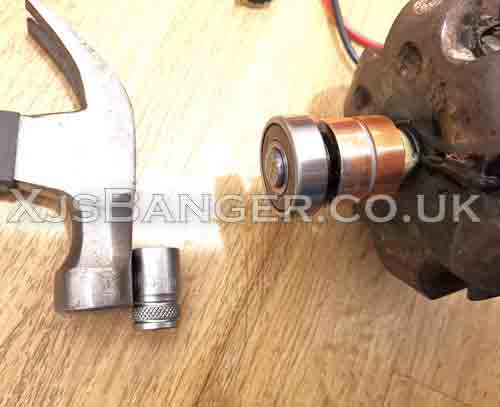
Removal of small beraing from the rotor is the easiest task across the entire renovation.
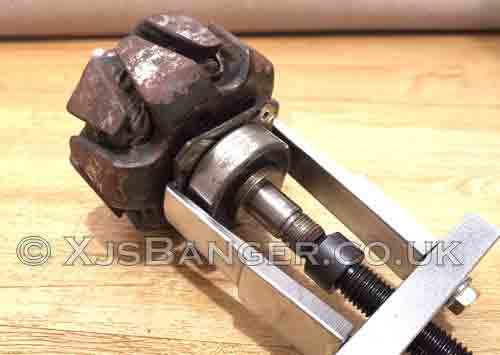
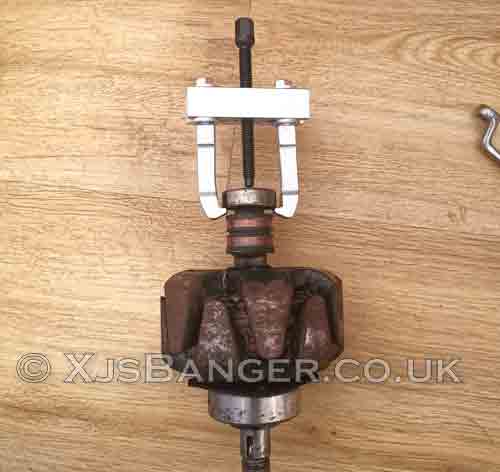
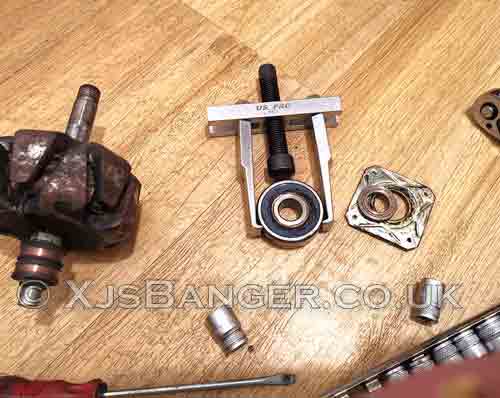
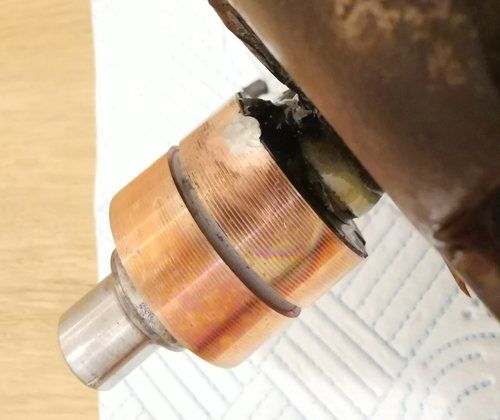
Both bearings removed from the rotor. Pay attention to the bracket and spacer ring.
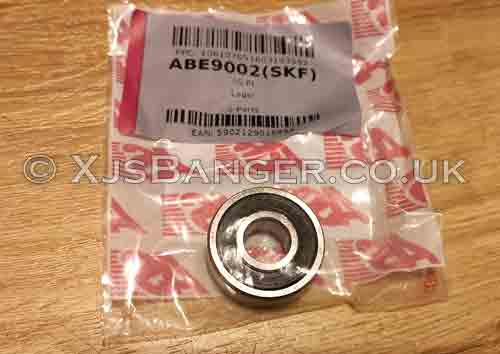
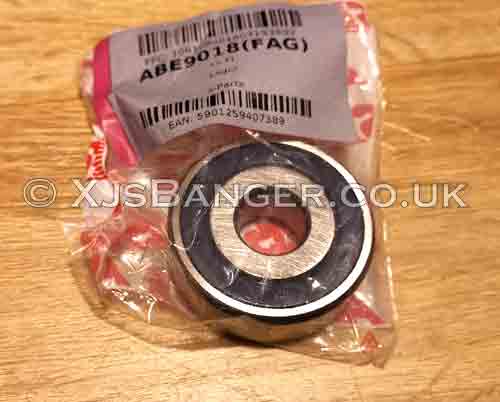
To remove main (big) bearing you need to use puller. My puller costs £23 with delivery and is able to access tiny clearances. Your puller probably won’t.
To resolve problem with inappropriate tools use screwdriver or chiseldriver to bend that useless shim securing the main bearing to the top housing to gain puller foot access. Alternatively, you can do this:
- Cut the outer ring of the bearing with angle grinder/Dremel, or crush in the vise – whichever fits you your workshop.
- Cut the inner ring, don’t worry about the scratches on the shaft.
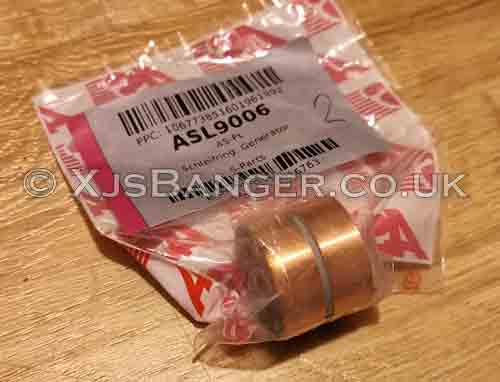
- Don’t cut the spacer located on top of the main (big) bearing – reclaim it! (yes AS-PL have those as well, but simply don’t…)
Rear bearing removal is a child’s play, again you can use a hook from slide hammer.


")